System Configuration
Use the Configure tab to change whole-system settings.
Network Settings
Use this page to change the System Name, and configure the IP Address and DNS servers.
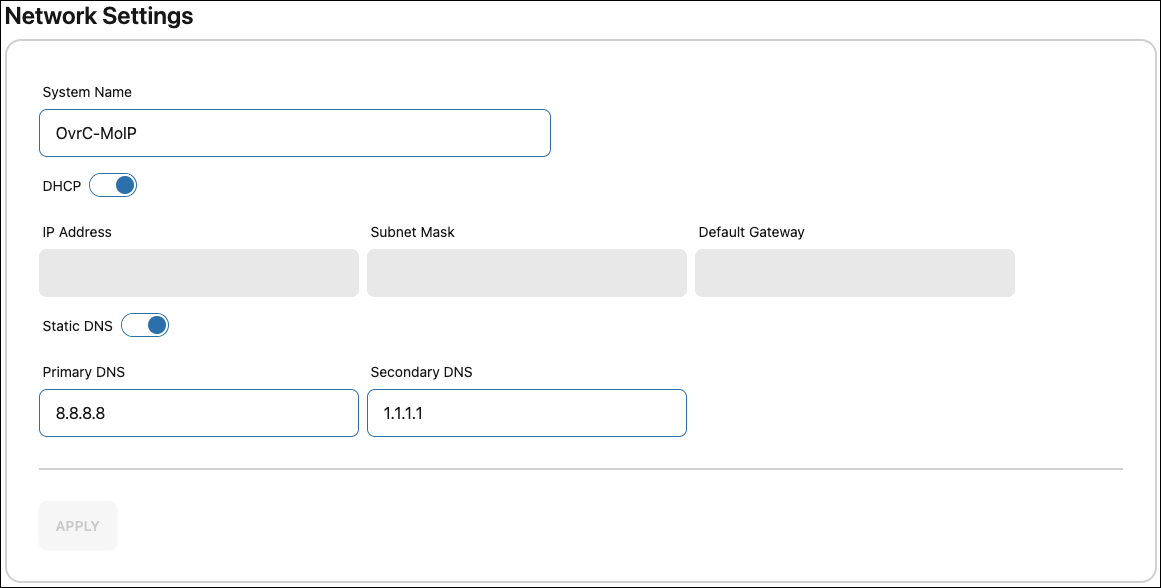
Use the DHCP toggle to disable DHCP and assign a static IP. Enable Static DNS to enter a Primary and Secondary DNS.
Click Apply to save changes.
Account Management
Use this page to change the Username and Password. The following restrictions apply:
-
Username cannot be root, the unit MAC address or ST number.
-
Password must be between 8 and 63 characters long.
-
Password cannot have repeated characters (ie. aaaa or 2222).
-
Password cannot have character sequences (ie. abcd or 1234).
-
Password requires at least one upper case letter, a number, and a symbol.
-
Password can only have printable ASCII characters and not '+'.
-
Password cannot be the default password or a commonly known password.
Click Apply to save changes.
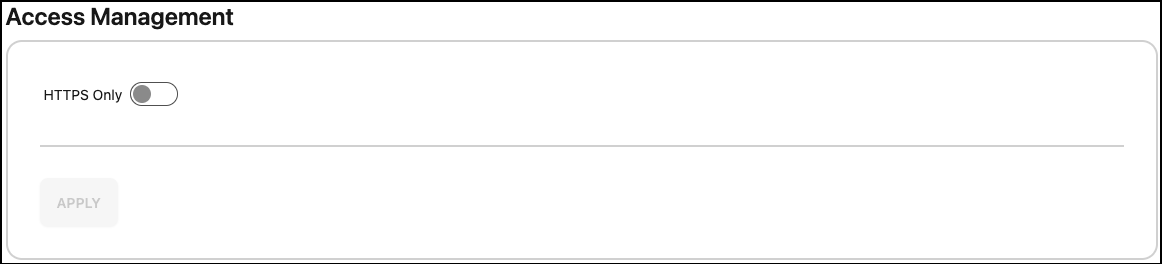
Access Management
Use this page to enable or disable HTTP using the HTTPS Only toggle. When enabled, the local UI can only be accessed using HTTPS. Click Apply to save any changes.
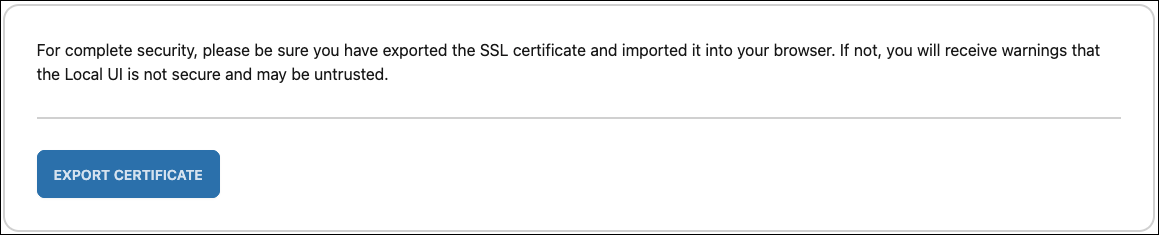
To avoid any browser warnings when accessing the local UI, use the Export Certificate button to download a certificate. Follow your browser's instructions to apply the certificate.
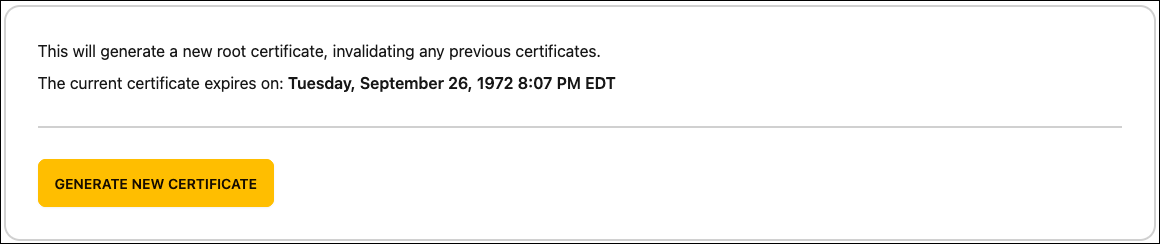
If the certificate expires, or you need to invalidate previously exported certificates, click Generate New Certificate.
Configuration Maintenance
This page allows you to Export a Configuration, Restore a Configuration file previously exported, and Factory Default the MoIP system.
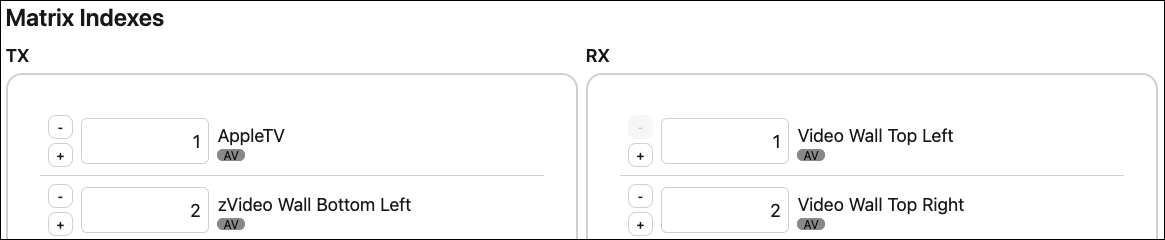
Matrix Indexes
If you're using a control system, you can use this page to edit the Matrix Index numbers given to the MoIP devices.
Units Configuration
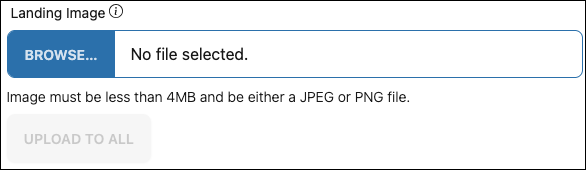
This page allows you to add images to the MoIP configuration to replace the default Binary landing page and to display a logo in the corner of displays. This could be the place-of-business' logo, a currently running special, a QR code, etc.
To replace the default Binary landing page, click the Landing Image Browse button to select an image, then click Upload to All. The maximum image size is 640 × 480 px.
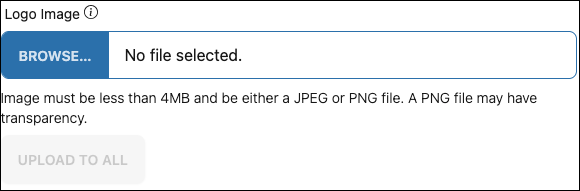
B-960 Receivers have the ability to add a logo in the corner of displays.
Note: This feature is not available on transceivers or B-900 devices.
To add a logo:
-
Click the Logo Image Browse button to select an image, then click Upload to All.
-
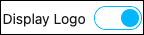
Click the Display Logo toggle.
-
Select the corner of the display for the image to appear in.
-
Enter the number of pixels from the edge of the screen for the logo.
-
Click Apply to All.
